

Lenovo ThinkPad Yoga-Setting Up a Home Printer
October 19, 2014
Tags: Lenovo, Printing, Staff, Staff Laptop
Setting up a home printer on the Lenovo ThinkPad Yoga 11e staff laptops running Windows 8.1 has proven to be incredibly easy when tested on both wired and wireless printers–even older models. It is important to note that there is wide variance in printer models and the drivers that are used on computers to actually print to those printers, and, unfortunately, Information Services cannot guarantee support for home printers nor can Information Services provide assistance with the set-up and maintenance of home printers or their connection to school staff laptops.
Wired Printers
If you have a printer that you connect to the computer via a USB cable, your first step is to simply plug that cable into one of the USB ports on your Yoga 11e. (There is a USB port on each side of the Yoga 11e.)
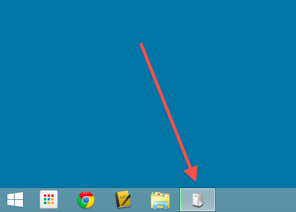
When you have plugged in your printer, you will notice a new icon appear on the Taskbar at the bottom of the screen as your computer tries to automatically set-up the printer (pictured below).
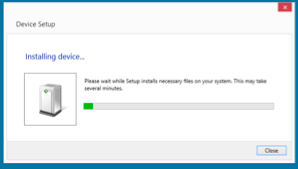
If you were to click on this icon, a new dialog (like the one pictured below) would appear in the middle of the screen, showing you that the printer is being set-up.
Once this process is complete, if you were to go to your Charms and click on “Settings” and then click on “Control Panel”, in the Printer settings, you would see your new printer had been added. In the picture below, you can see that the school printers are slightly grayed out showing that they are unavailable from home. You can also see that the home printer now appears, is not grayed out, and has a big green check showing that it is ready for printing.

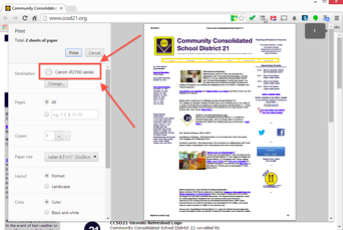
If you were to go and print something at this point, you would see your printer appear in the Print dialog as pictured below.
Wireless Printers
Wireless printers will set-up with a similar automatic process, but one that can take a little longer depending on the speed of your wireless network and the wireless printer itself.
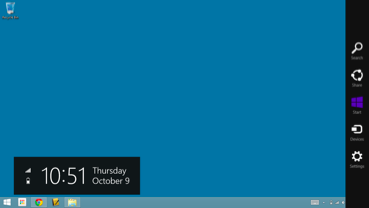
Upon connecting to one’s home network, the wireless printer will slowly but surely auto-add itself. To see if it has been added, swipe out the Charms from the right side of your Desktop.
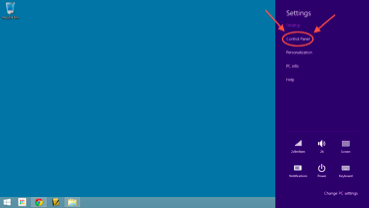
Within the Charms, select “Settings”. Then, choose “Control Panel”.
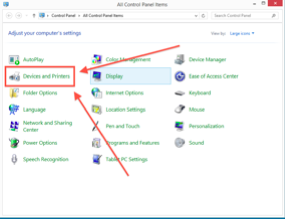
With the Control Panel open, you can click “Devices and Printers”.
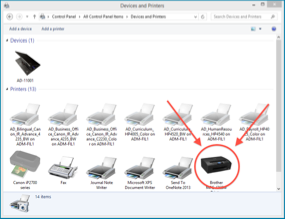
Then, eventually (it could easily take 5-10 minutes for your printer to be auto-discovered, set-up, and to be appear), you will see your printer in this list.
For additional information, you can view the many resources available directly from Microsoft on its Windows 8.1 Support pages, including this information on adding a printer.
Topic: Tech Tips
Each District 21 school is named after an American author, and learning and literacy is at the center of our Professional Learning Community. The Modern Pen provides a collaborative location in which District 21 teachers can come together to learn the skills that will enable their students to learn new skills and to understand concepts at an even different level than before.
 Preparing all students for success